I've been putting this off as I'm truly dreadful at instructions, I'm rubbish at following them and hopeless at giving them; I'm of the 'left a bit, no I said left. Oh, well I meant right. Up a bit, no not like that, like this. What do you mean I'm not helping?' school of diy.
But, I promised and I firmly believe that craft should be a community thing, that when we make something we should share our methods with anyone who wants to know so that they don't go completely nuts trying to figure this shit out for themselves.
So here they are, my tips (they really aren't comprehensive enough to be called instructions) on making birds. I didn't really take many pictures of the process, not thinking that I would be called upon to explain the methods to my madness, but I've tried to illustrate my explanations where I can....
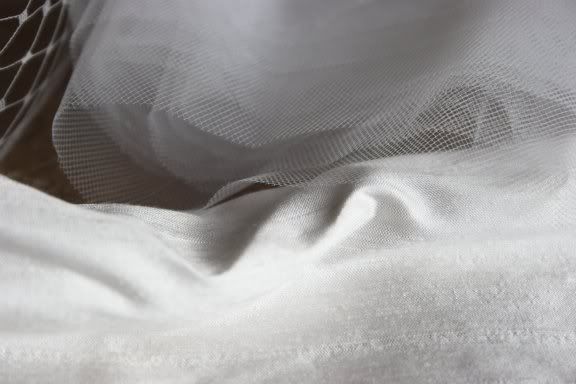
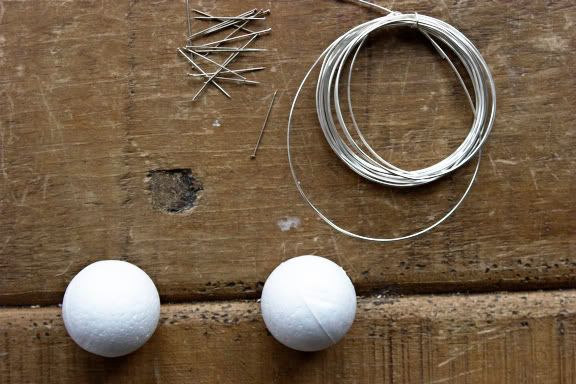
- Fabric, you don't need much, a piece about the size of an A4 sheet of paper should be enough for the actual birds. Of course you need about three times as much to account for all the bits that you will bugger up. Cotton or linen is much easier to work with than silk. I used dupion silk which didn't pucker like silk satin would but it did fray a lot and it was quite easy to pull the fabric.
- A polystyrene ball, about 4cm across. To throw at anyone who offers 'helpful' suggestions.
- Wire, about 1mm thick. To poke said person.
- Dressmakers pins to hold everything together, including your sanity. I didn't have any when I made Norma Jean and I nearly lost my mind trying to hold the pieces together and sew them at the same time. If you're using white fabric be careful of old or cheap pins which are quite often tarnished and will leave marks on light coloured fabric.
- Feathers, if you want a feathery tail. Preferably from an ethical source.
- A kebab skewer or cocktail stick, painted or coloured whatever beak colour tickles your fancy. I've also heard of people using golf tees, but I don't like plastic. Or golf.
- An outfit of some sort or another which will be very handy in covering your mistakes. And the blood stains from where you prick your finger and don't notice until after you have smeared blood all over the expensive white silk that has taken three days to fashion into a bird shape.
- Stuffing. I used filter wool from The Boy's fishkeeping supplies as it's almost identical to the polyester stuffing you can buy for the purpose and he didn't want it.
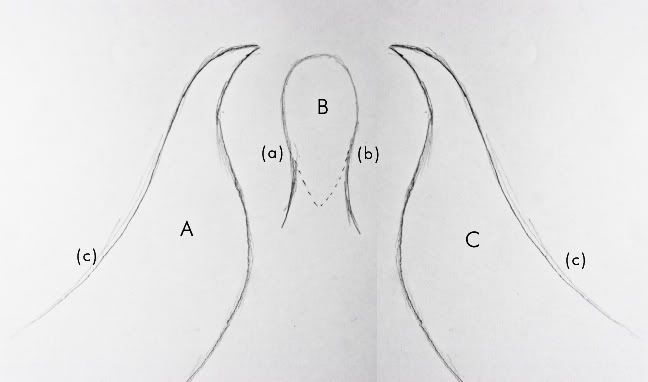
I'm really bad at working to a pattern, I tend to cut bits out then pin and tuck and fold until they are the right shape, but I did figure out some basic shapes that worked as a starting point -
Part B is the body and the dotted line marks the bit that is actually visible at the end, but I discovered that you need a lot of extra fabric to play with to get the right shape and to leave room for stuffing the bird.
Parts A and C are the sides of the bird, again the bottom half is little like the actual shape that is sewn but it was much easier to have extra.
Sew part A to part B first, up to point (a)
then part C to part A, up to point (b)
then finally parts A and C to each other, to point
(are you following this?!)
The point where the three pieces come together to make the top of the head was a right nightmare and required a lot of fiddling about to get it lying right.
Then stuff the top half of the bird with whatever stuffing you're using. Put the polystyrene ball in at the fattest part of the body then fold and tuck the three pieces of fabric until it all looks bird shaped, holding everything in place with the dressmakers pins. The ball will do all in its power not to stay in the bird. Hold the f*cker in with pins while you sew it all up. I left quite a few pins in the bird, holding part B to the polystyrene ball, they were all covered up with other bits of fabric or will be covered up when I put a dress on her. Pins are your friend while doing this project, use them liberally!
Remember to leave the end of the body open for a tail)
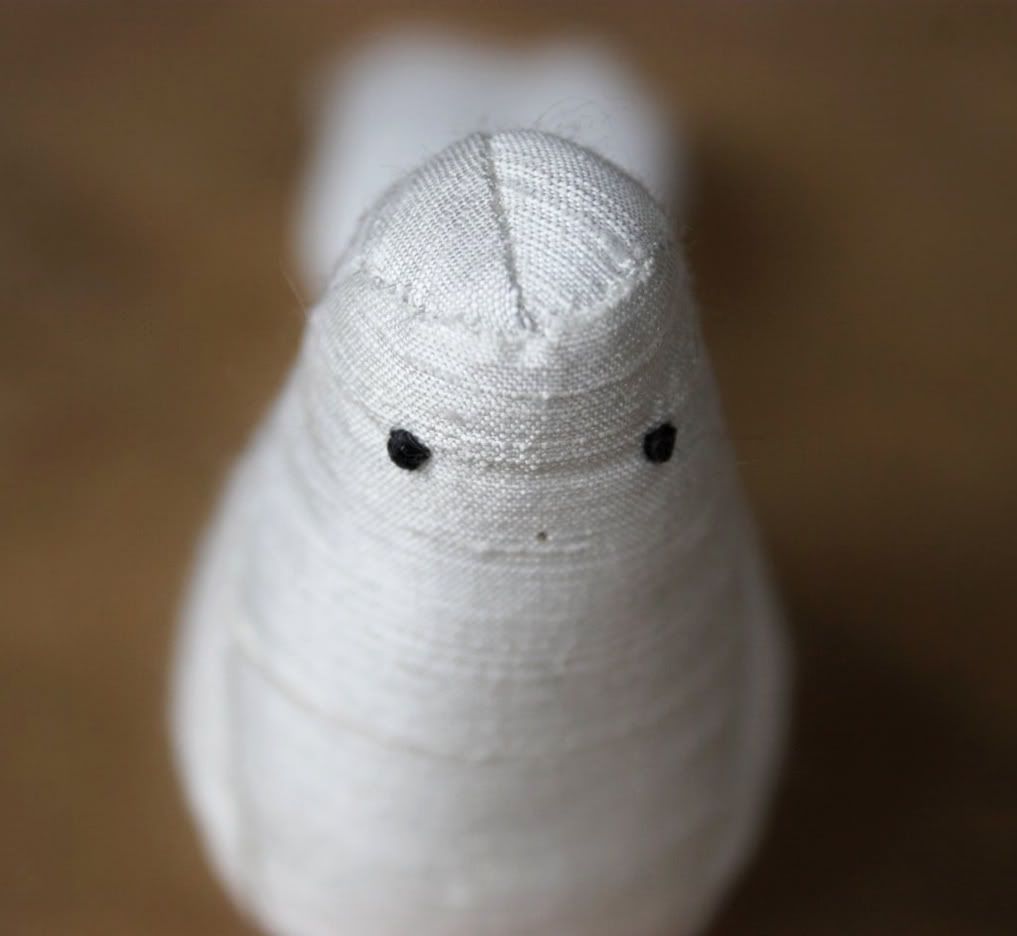
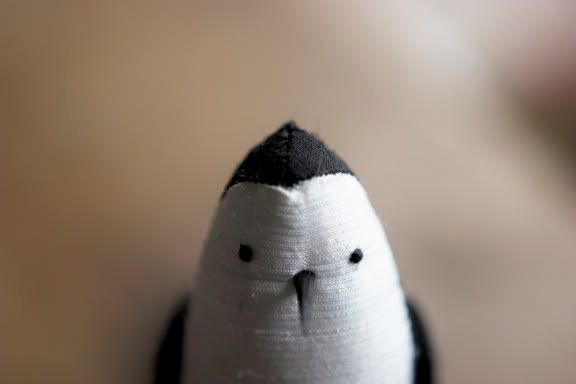
It is a good idea to figure out the placement of the eyes and beaks with pins first, pushing them in to make features and work out the spacing. They are a lot less permanent that thread or the hole that a beak will leave should you decide it's in the wrong place. And pins leave handy little holes as guides for where to sew.
Poke a hole in the face with a pin and wiggle it about a bit before trying to put the beak in as it is very easy to pull the fabric while trying to get it in. We made our beaks with wooden kebab skewers, cut to about an inch long and whittled at both ends so they were easier to poke through the fabric, and coloured in with permanent marker. Make sure you leave it plenty of time to dry before putting it anywhere near your white fabric....
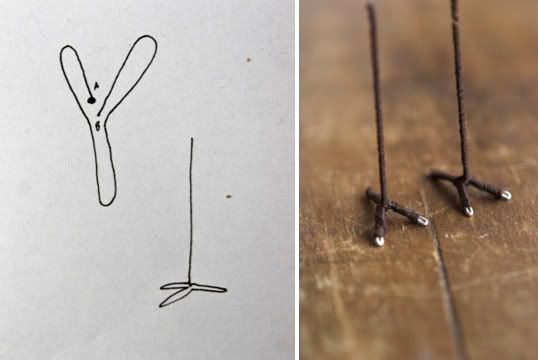
The wire was bent like this, starting at point A
...and at point B (my favourite part of this whole 'instructions' process is labelling!) the wire was bent straight up to make a leg, then cut them to the right length for your birdie, leaving about an inch to be put into the body.
We wrapped the legs in embroidery thread as I thought the wire was 'too shiny'. We tried wrapping them in thin black wire but it was 'too ugly'. I super glued down the tufty bits of thread at the top of the legs. Super glue dries faster than you might think. Pulling legs off your fingers is more painful than you might think. Just sayin....
Then we shoved them rather forcefully into the body, through the many layers of fabric and into the polystyrene ball. This bit was quite difficult and I bent the legs over and over again. Using a really big needle to make a hole before trying to get the legs in is a good idea, as is trimming the end of the wire into a sharp point with wire cutters.
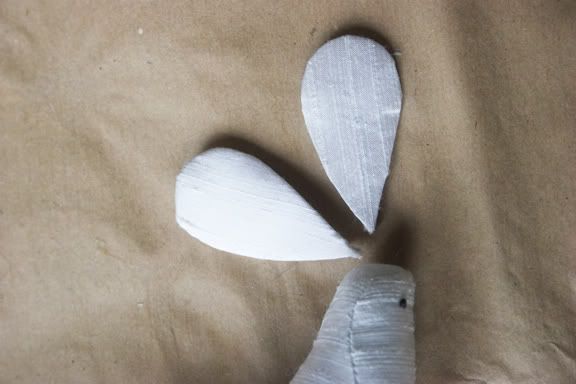
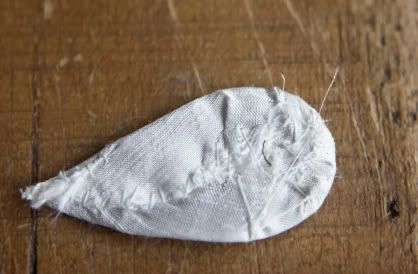
I made the wings by cutting out cardboard wing shapes, wrapping them in a very thin layer of stuffing (glued on) then wrapping them in fabric which I sewed together at the back, very messily.
Then I sewed them in place with a few tiny stitches round the edges. You could of course use glue instead. Boy Bird's are done but Girl Bird's are waiting until after she is dressed. Boy Bird's are slightly bigger, at the request of The Boy....
You could also make tails in a similar fashion to the wings, with cardboard and fabric, if you didn't want to use feathers.
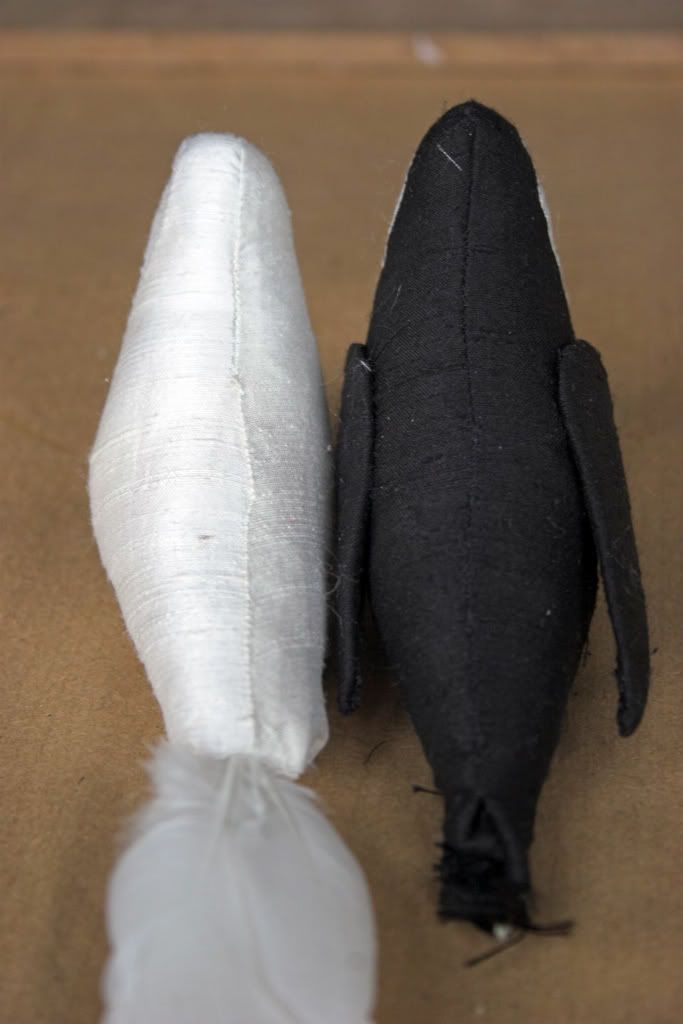
(You can see the hole left at the bottom of Boy Bird for the tail feathers. You can also see my dodgy sewing in the delightfully squint seam running down Girl Bird's back. That, along with the blood stain a couple of inches above her tail will be covered with the offcuts of my dress though. Phew)

He stands up all by himself. I was most surprised at this! But I think we're going to stick them to a little base to sit atop our stack of cupcakes on glass stands, just in case they fall over. Because they're not that stable.
Dressing.
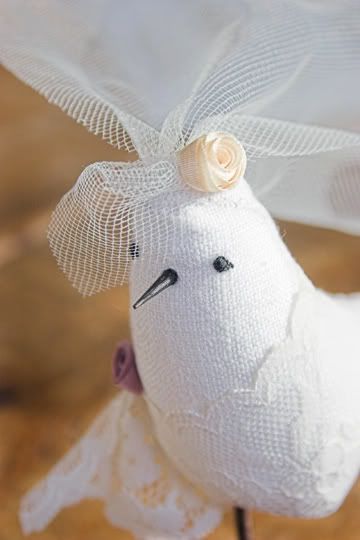
I think that's everything. You're on your own now. (I am only joking of course, if you have any questions please do ask and I'm um and ah a bit before telling you 'left a bit, no right a bit. Well I don't know, do I?' )
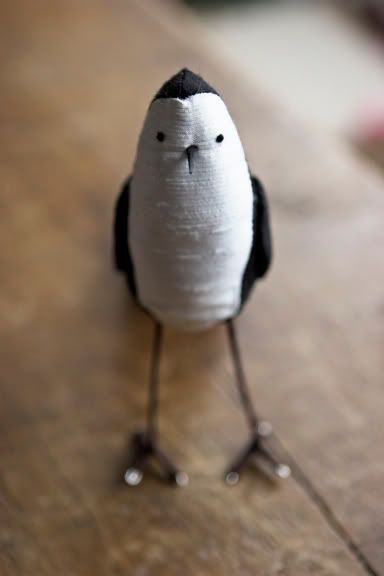
And there you have it. Not quite as chic and flawless as their $300 counterparts, but a damn site cheaper. I don't know how cheap, give me a moment.....
Black silk - free, I had bits lying around from a book I made The Boy for his last birthday
Ivory thread - £1.35
Roll of wire - £1.50
Brown embroidery thread - 80p
Stuffing - free, I pinched it from The Boy's fishkeeping supplies
Polystyrene balls - 22p each (x2)
Veil tulle 10cm x 150cm - 90p
Pins - £1.99
Dress offcuts - free. Let's forget for a moment that the dress cost more than our last two cars combined.
feathers - £4.50
.......... Grand total - £15.48 for two birdies. Woohoo. It would be even cheaper if you use stuff that you already have, like fabric offcuts and if you don't buy wire, pins and thread especially. Quite the bargain I think!
Although I must add that the amount of time and frustration that goes into making these is ridiculous and I can totally understand that if you were going to do it for a living you would need to charge a hell of a lot more than £15 to make it worth the insanity it induces.
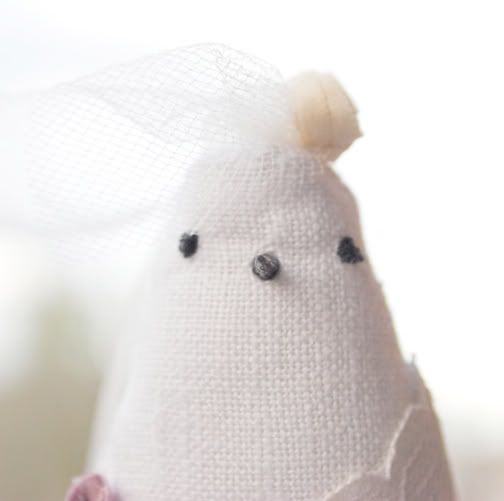
And just to prove that I really didn't have a clue what I was doing when I fist started, here is a picture of my second effort....


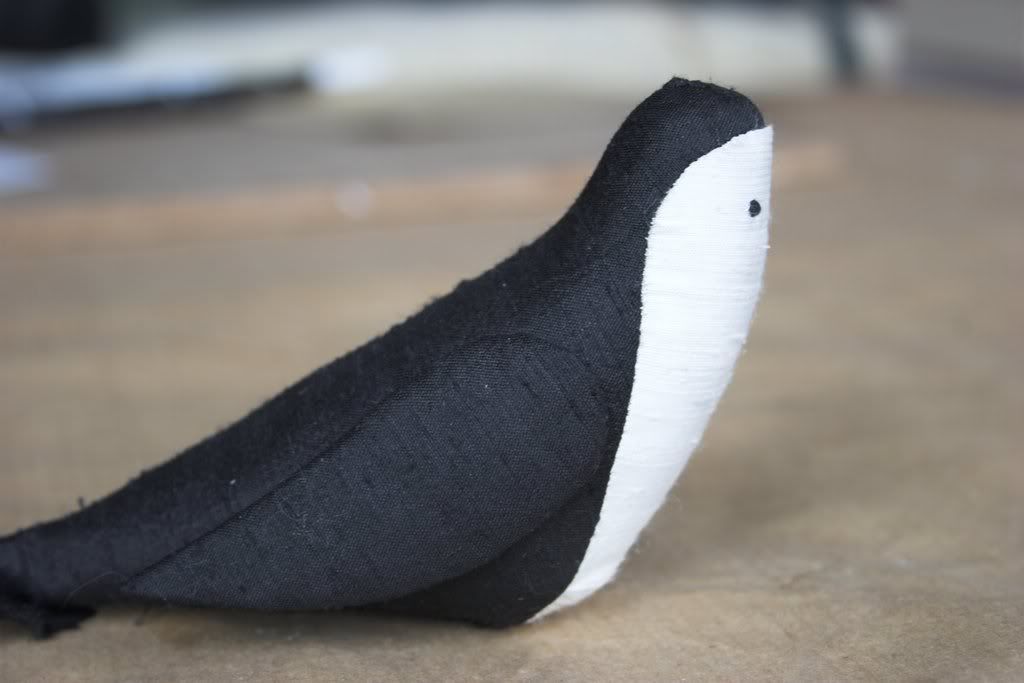
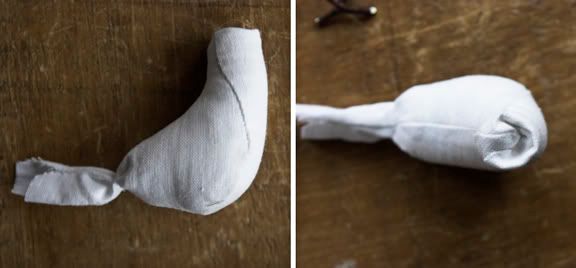


They're just gorgeous!
ReplyDeleteabsolutely darling! you did a amazing job!
ReplyDeleteHave you considered making more birds and selling them on etsy, or someplace like that? I bet people would buy them! I would have gotten some, for my wedding. :-)
ReplyDeleteOkay, I love these directions! They would help me to know what to do (which is the point of them), but they also include enough humor to keep me smiling during the difficult parts!
ReplyDeleteI'm not sure if I'll attempt the birds or not.... I love them, but they still look difficult. We'll see.... but if I do I'll definitely send you photos!
You could make a tutoral on Laundry seem lovely.
ReplyDeleteAnd yes, you should *also* sell your photos on etsy.
You are too modest--lovely directions. I have absolutely no reason to make these birdies, but think I'll attempt them next time I'm bored (so I'll send pictures in 2027 or so). Hope you don't mind if I link to this in my week in review post--it's a great resource!
ReplyDeleteThank you so much! I really did love making them, as frustrating as it was at times I found it really relaxing.
ReplyDeletePrincess, I did think about it! I don't think I'm quite good enough at it yet, no one wants blood stained cake toppers!
Meg, thank you. I have been thinking about setting up a shop on etsy but I'm a bit nervous about it! And if only I could make laundry seem lovely, maybe I might get some done then!
FF, I would be seriously honoured! I love your week in review posts.
I could NOT love these more
ReplyDeleteThanks Flutter, you're a sweetie!
ReplyDeleteThank you for sharing this lovely project! You are so talented! And funny! I can't wait to try this!
ReplyDeleteI love them skinny legs! :-)
ReplyDeleteJust wanted to say thanks for your help. I did get a pair made and your very funny instructions were my jumping off point and my encouragement when things got rough.
ReplyDeletethis are awwwww so cute!! def trying them :) I'm making a paper tree as our wedding altar so maybe I can have them to hold our rings :) It looks perfect in my head, Thank you!!!
ReplyDeletei'm sure you've fixed the issue by now, but if you ever have bloodstains again on your fabric, you can always take a white piece of cotton thread, wet it with your spit, and roll it around on the bloodstain until it disappears. weird, but true! your specific enzymes will break it down and it goes bye bye.
ReplyDeletethanks so much for your instructions! they really helped me to figure out how to make a pattern for the head area!
ReplyDeletesee my completed boy and girl here!
http://picasaweb.google.co.uk/lh/photo/tPYOM96LiHDvzQpZpic8jw?authkey=Gv1sRgCKSvhOHR39f1SQ&feat=directlink
So I have been parked on your page for the past week trying to figure these guys out. They are absolutely 100% adorable! But, let me tell you, they are no easy task. I am thrilled that these little guys will be part of my wedding. Thank you so much for your instructions.
ReplyDeleteCheck out my finished results:
http://www.flickr.com/photos/49213103@N07/sets/72157623830469212/
I had maybe 8-10 trial runs end up in the trash bin. It was the actual silhouette/pattern that was so hard for me. If anyone is interested, I can email what I ended up with for patterns. They aren't as cute and slender as peonies! ashleeriley@gmail.com
I used my sewing machine for parts of the birds. I sewed together the top pieces(the head all the way down the back). Then sewed the body(the belly) to the head. The only part that I left open to be hand-sewn was the bottom, and no one really cares what the bottom of the birds look like. I'm not great at sewing by hand.
Thanks again Peonies & Polaroids. Considering how much time these guys took, I may understand why they were $300 elsewhere.
Hi, I hope Im not stepping on anyone's toes but I am on etsy and can make these for 75.00 I am doing a couple custom orders now email me if you are interested channonlindlief@rocketmail.com
ReplyDeletexoxo